How to Create a WordPress Website

How To Create A WordPress Website

In this article, we’re going to discuss how to make a WordPress website. WordPress is an open source content management system that is very user friendly and allows any individual to create beautiful websites with ease. WordPress can be installed on your server and can be downloaded here.


Click here to download WordPress

WordPress is a free to use CMS that powers more than 35% of the world’s websites today. Many businesses and professionals use WordPress to create stunningly beautiful websites.

Your Host

Choosing your host is the first important step in creating your website. There are many great hosting sites out there and most of them will have great deals. We have tried many and feel the best host available is 1&1 IONOS.


Now that you’ve selected a host, it’s time to install WordPress. If you chose to go with IONOS, you’ll see a setup process for your new host package. One of the options for this setup process is to have WordPress installed automatically for you. This is the easiest option. However, if that is not the case, you can use the link above with the WordPress .zip file and upload it to your server. This process will vary from host to host, but it’s not a complicated process. As always, we’re here to help and you can contact us to help you with the installation of WordPress on your server.

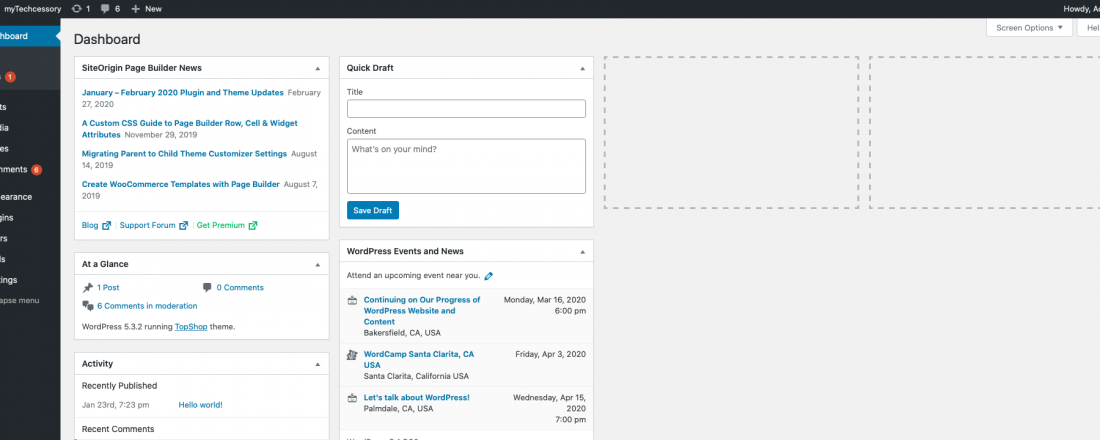
Once WordPress is installed, you’ll be able to log in to the back end of your website and start creating. Your backend should look like this:

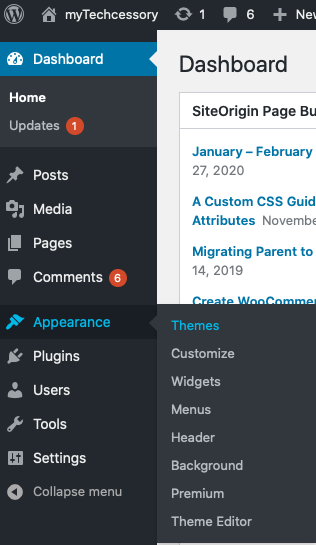
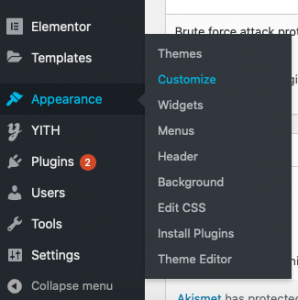
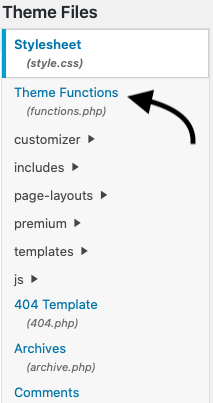
To the left, you should see a navigation column. Select Appearance and then select Themes.

In most cases, you should see a handful of themes already installed that you can choose from. If none of those suit you, click Add New at the top. You’ll be greeted with a whole bunch of popular themes that you can choose from.

Start building!

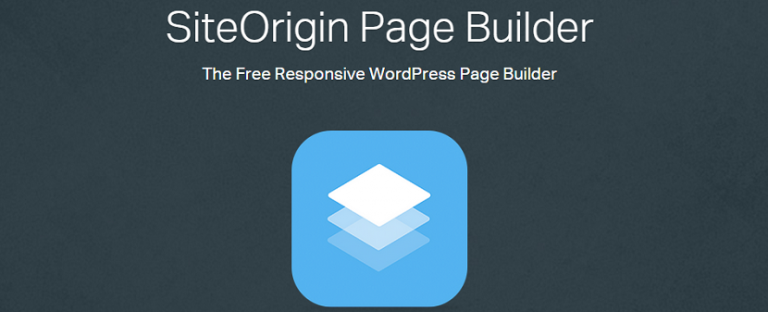
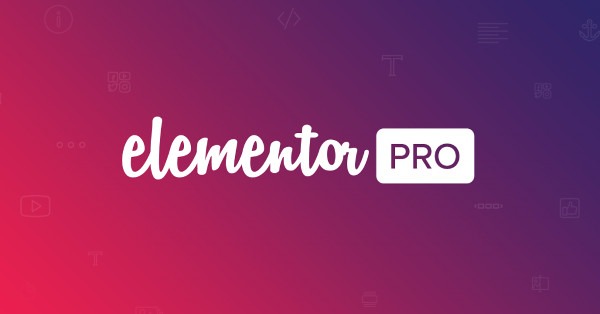
Once you’ve found the theme that you want to go with, simply click install and activate! Once you’ve done that, you can go to pages and start working on your home page. For an even easier time, download elementor. Elementor is a page builder with over 4 million downloads. It makes it super quick and easy to make a beautiful website, without code or much knowledge. Their platform has a TON of reading material and videos to teach you how to make great websites! Not for you? Check out the SiteOrigin page builder as well. SiteOrigin takes a different approach to building a website that some people might prefer. SiteOrigin gives you the ability to get a visual of your sites layout and easily input widgets into your website.

Join Us

We’re releasing our “Learn WordPress” course soon! In our course, we don’t just tell you to click this and that, we go step by step through each process. You’ll be building an e-commerce website with us. Interested in knowing when it launches? Fill in your email to sign up!

(most companies say they hate spam, but we mean it. Your email will only be used to notify of our Learn program launch)

How To Remove the Sub-Header in WordPress

What is the sub-header?

The sub-header is the secondary header on your website or page. Occasionally, you won’t always have the option to disable your sub-header and in some circumstances, you may want or need to. As an example, I am currently working on a website for a customer, kkfabrication.com. The theme I’ve chosen to use has a sub-header that automatically displays breadcrumbs (which I can’t stand). So, in this instance, I need to remove the sub-header. This is WordPress, however, and there are ways to disable the breadcrumbs, BUT we’ll save that for another day. So let’s dive in to this super simple and easy way to disable the sub-header.

Navigating To The Sub-Header

The sub-header can be found two ways: through the dashboard and via the customize option displayed at the top of your page when you’re signed in as an admin.


Editing the CSS

Now comes the easy part. You should see a menu with many options. At the bottom of this is “Additional CSS”. Go ahead and select that.

Entering the Code

Once you’ve selected “Additional CSS”, you should see the following. Copy and insert the code below the image and that’s it!

#site-subheader
{display:none;}

You’re done!

That’s all there is to it, go ahead and click update and you’re good to go. Enjoy!

Are you interested in knowing how to do more? Visit our contact page and send us a message!

How To Disable The WordPress Admin Bar

How To Disable The WordPress Admin Bar

If you have a website where you can have members, chances are you don’t want them accessing the backend of your site in any way (unless they’re an admin). If you’re wondering how to get rid of that pesky admin WordPress bar at the top of your site for anyone that’s just a customer or subscriber, read on.

(Warning: if you are not comfortable editing your sites code, please refrain from doing so until you’re comfortable. We are not responsible for damage done to your site. Feel free to learn about a great plugin called “Code Snippet” that allows you to add to your functions.php without going directly into it – Click here to learn more)


Let’s Dive In…

Alright, so, we’re going to go into the dreaded code of your website. To do this, we’re going to first go to Appearance, then we’re going to go to Theme Editor.

Now that you’re in…

Now that you’ve selected Theme Editor, you should see a page with coding. Go ahead and dismiss any notification about ruining your site (BUT PLEASE BE MINDFUL OF IT). Select Theme Functions (functions.php).

You’re doing great!

You should see code that basically takes up all of your screen. Scroll all the way down after you’ve selected theme functions. Copy the following code and paste it all the way at the bottom of your code.

add_action('after_setup_theme', 'remove_admin_bar');
 
function remove_admin_bar() {
if (!current_user_can('administrator') && !is_admin()) {
  show_admin_bar(false);
}
}

And that’s it!

Click update file and you’re done!